


This guide provides essential information on preparing a simple plastic container for use. Have you ever enjoyed a glass of cool, refreshing homemade cordial on a hot summer’s day, or tasted the unique flavor of your own homemade doogh with a meal? Making these healthy and delicious drinks at home is a wonderful experience. But all your hard work can be ruined by one small mistake: using an improperly prepared container.
The definitive answer to ensuring the health and quality of your homemade drinks lies in a two-step process: thorough washing and proper disinfection of the container you use. This task, while it may seem simple, is the foundation for preserving the taste, aroma, and most importantly, the safety of the liquids you and your loved ones consume. In this comprehensive guide, we, as experts in producing hygienic containers, will provide a simple, step-by-step guide on how to turn a basic container into a safe and sanitary vessel for your most treasured beverages.
Join us to discover how following a few key tips and choosing standard containers from the Zibasazan brand can allow you to confidently showcase your culinary art. If you’re looking for information on how to prepare a simple container, read on.

فهرست مطالب
- 1 Why Is Preparing a Simple Container Important?
- 2 The Impact of Contamination on Taste and Longevity
- 3 Special Importance for Sensitive Drinks
- 4 Initial Washing Steps for a Simple Container
- 5 Methods for Disinfecting a Container for Food Use
- 6 Method 1: Using Chlorine Bleach (Unscented)
- 7 Method 2: Using White Vinegar
- 8 Method 3: Using Boiling Water (for Resistant Containers)
- 9 Key Tips for Choosing the Right Container for Homemade Liquids
- 10 First Priority: Safe and Food-Grade Raw Materials
- 11 Best Methods for Filling and Storing Water, Cordial, and Doogh
- 12 Storing Drinking Water
- 13 Storing Homemade Cordials (like Sekanjabin, Sour Cherry Syrup)
- 14 Storing Homemade Doogh and Kefir
- 15 Final Recommendations for Maintaining the Health and Hygiene of Homemade Liquids
- 16 Which dispenser is more suitable? A comparison of glass and plastic dispensers.
- 17 Choosing a Durable and Leak-Proof Screw-Cap Water Bottle: A Guide
- 18 How to Clean and Maintain Plastic Kitchenware for Long-Lasting Use
- 19 Plain or Patterned Plastic Sets; Which is Better for a Trousseau?
- 20 Everything You Need to Know About Types of Plastic Kitchenware Materials
Why Is Preparing a Simple Container Important?
You might ask why there’s so much emphasis on washing and disinfecting a simple plastic container. The answer lies in the invisible enemies of our health: bacteria, mold, and yeast. A new container fresh from the factory might be contaminated with dust and environmental microbes during production, packaging, or transportation. Older containers may also harbor residues from previous contents or invisible microbial colonies. When you pour sweet cordial, doogh containing beneficial microorganisms, or even water into such a container, you are creating an ideal breeding ground for these pathogens. This contamination not only alters the taste and smell of your drink, causing it to spoil, but it can also lead to digestive issues and food poisoning. Therefore, sanitary preparation of a container is a necessary and preventive measure, not a matter of preference. This ensures the authentic taste of your drink is preserved and its safety is not compromised.
The Impact of Contamination on Taste and Longevity
Even if the microbes in the container are not harmful, their activity can change the chemical composition of your drink. For example, wild yeasts can ferment the sugar in cordial, making it fizzy and sour. Bacteria can cause doogh to curdle and develop an unpleasant smell. Proper preparation eliminates these troublesome agents and significantly increases your product’s shelf life.
Special Importance for Sensitive Drinks
Drinks like doogh and kefir, which contain beneficial bacteria, are highly susceptible to cross-contamination. The introduction of harmful bacteria can upset their microbial balance and disrupt the beneficial fermentation process. Cordials, due to their high sugar content, are also prone to mold and yeast growth. Thus, for these types of beverages, the importance of sanitary preparation is twofold.
Initial Washing Steps for a Simple Container
The first step to having a completely sanitary container is a physical wash to remove all visible dirt and potential grease. This stage prepares the container’s surface for the disinfection process. Never skip or rush this step, as the effectiveness of the disinfection stage depends on the quality of this initial wash. You will need simple tools: warm water, mild dish soap, and a clean brush or sponge. The goal is to thoroughly clean all internal and external surfaces of the container, especially hard-to-reach spots.
Step 1: Prepare Materials and Tools
Before you begin, gather the necessary items for a smooth process.
- Mild dish soap: Use a fragrance-free soap to prevent its smell from lingering on the plastic.
- Warm water: Warm water helps dissolve grease and grime, but avoid boiling water, which can damage some plastics.
- Container brush or clean sponge: A brush with a long handle is ideal for cleaning the bottom and walls of large containers. Make sure your brush or sponge is completely clean and hasn’t been used for anything else.
- Gloves: Wearing gloves is recommended to protect your hands.
Step 2: The Step-by-Step Washing Process
Follow this process carefully to ensure a good result.
- Initial rinse: First, rinse the container with cool water to remove any loose dust and particles.
- Add water and soap: Pour some warm water (about one-quarter of the container’s volume) and a few drops of dish soap into the container.
- Shake and scrub: Securely close the lid and shake it vigorously to get the suds to all internal surfaces. Then, open the lid and use the brush to thoroughly clean all internal walls, corners, and the bottom of the container. Pay special attention to the threaded neck and the inside of the lid, as these areas are prone to collecting contamination.
- Wash the exterior: Clean the outside of the container with a sponge and soapy water.
Step 3: Final Rinse
This step is critical. You must rinse the container with clean water (preferably cool water) until no trace of suds or dish soap remains. Leftover soap can negatively affect the taste of your drink. After filling and emptying the container a few times, smell it. If you still detect the scent of soap, continue rinsing.
Methods for Disinfecting a Container for Food Use
Once your container is physically clean, it’s time for the crucial disinfection stage. The goal is to eliminate harmful and invisible microorganisms that were not removed by normal washing. For food use, you must use safe methods that leave no harmful residue behind. Fortunately, there are simple, inexpensive, and highly effective methods you can use at home. The choice of method depends on your resources and the type of liquid you plan to store.

Method 1: Using Chlorine Bleach (Unscented)
This method is the gold standard for disinfection and is very powerful. However, it requires careful measurement and thorough rinsing.
- Instructions: Dissolve one teaspoon (about 5 ml) of unscented, additive-free chlorine bleach in one gallon (about 4 liters) of cool water. Pour the solution into the pre-washed container. Close the lid tightly and shake vigorously for at least 1 to 2 minutes to ensure the solution reaches all internal surfaces.
- Rinsing: Empty the solution completely. Then, rinse the container multiple times with clean water until the chlorine smell is entirely gone. To be certain, after the final rinse, allow the container to air dry completely so that any residual chlorine gas evaporates.
Method 2: Using White Vinegar
If you prefer not to use industrial chemicals, white vinegar is a natural and effective option. The acetic acid in vinegar has antimicrobial properties.
- Instructions: Pour some pure white vinegar into the container (no need to dilute). Close the lid and turn it to coat all the internal walls. Let the vinegar sit for at least 10 to 15 minutes.
- Rinsing: Empty the vinegar and rinse the container well with clean water to remove the strong smell of vinegar. This method is also useful for removing mineral deposits from hard water.
Method 3: Using Boiling Water (for Resistant Containers)
This method is only suitable for containers made of plastics resistant to high heat (like polypropylene or PP) or glass. Never use boiling water for thin plastic containers or those made of PET (like soda bottles), as it will cause them to deform.
- Instructions: With extreme caution, pour boiling water into the container until it is about half full. Close the lid and carefully (using gloves) turn it to ensure the hot water reaches all areas. After one minute, empty the water.
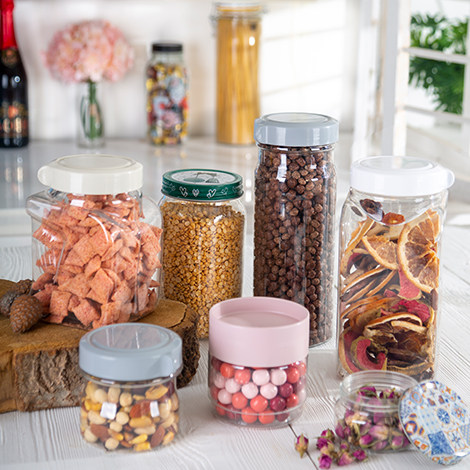
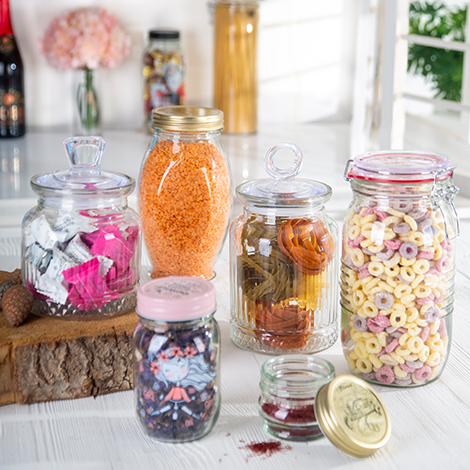
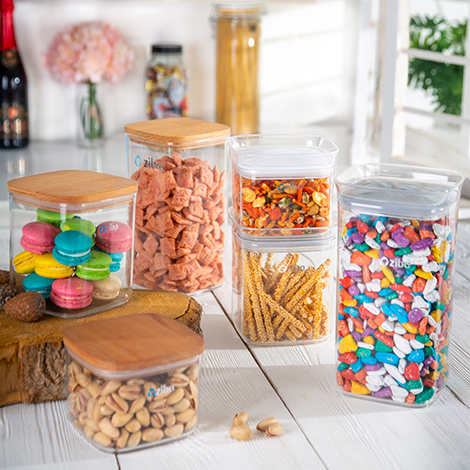
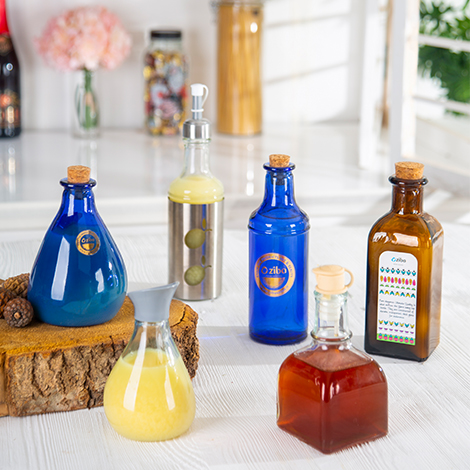
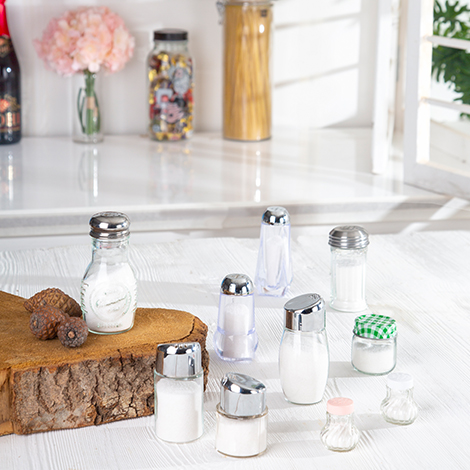
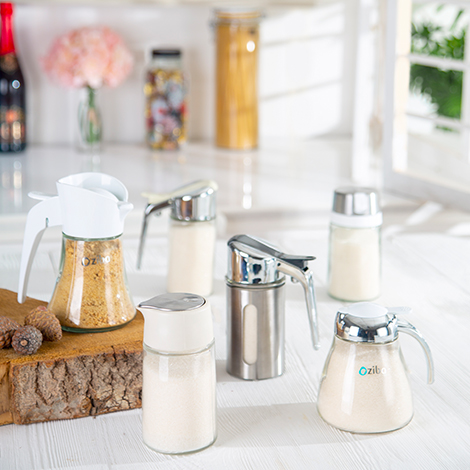
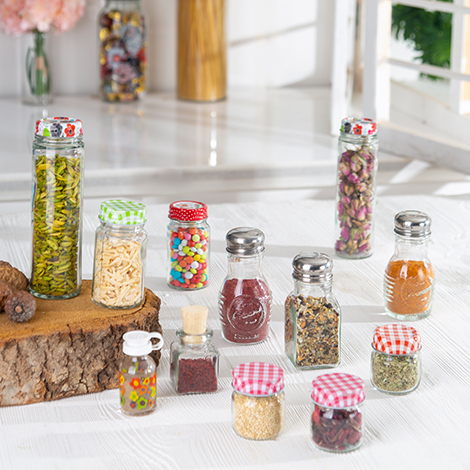
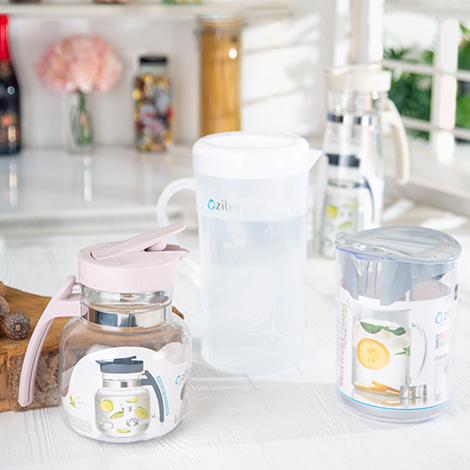
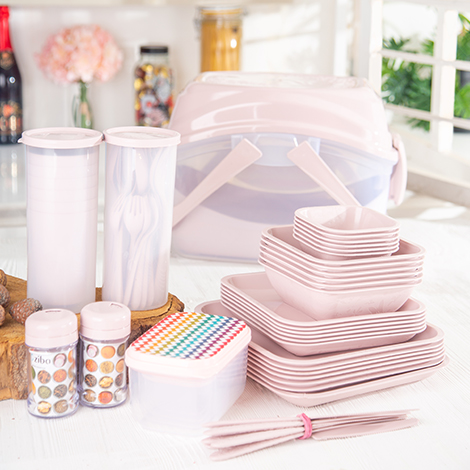
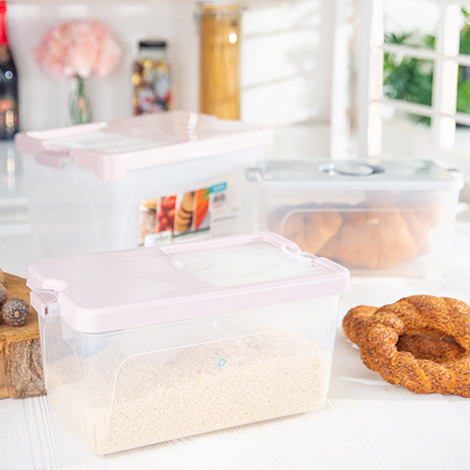
Key Tips for Choosing the Right Container for Homemade Liquids
The sanitary preparation process is only half the story; the other half is choosing a high-quality, suitable container from the start. If your container is made of low-quality materials, even the best washing and disinfection methods cannot prevent harmful chemicals from leaching into your drink over the long term. This is where the importance of investing in a reliable and standard product becomes clear.
First Priority: Safe and Food-Grade Raw Materials
This is the most important factor to consider.
- BPA-Free Label: Make sure your chosen container has a BPA-Free label. Bisphenol A is a chemical that can leach from low-quality plastics into food and be harmful to health. We are proud to state that all Zibasazan brand plastic products that come into contact with food are completely BPA-Free, ensuring your health.
- Recycling Codes: Look at the recycling code embossed on the bottom of the container. Plastics with codes 2 (HDPE), 4 (LDPE), and 5 (PP) are considered the safest options for storing food and beverages.
| Recycling Code | Abbreviation | Food Safety Level | Use in Zibasazan Products |
| 2 | HDPE | Very Safe | Milk and water containers, gallons |
| 5 | PP | Very Safe | Food storage containers, bottle caps |
| 1 | PET | Safe (for single use) | Mineral water and soda bottles |
| 3, 6, 7 | PVC, PS, Other | Not Recommended | Should be avoided for food use |
Best Methods for Filling and Storing Water, Cordial, and Doogh
After sanitarily preparing your high-quality container, it’s time to properly fill and store your drinks. Each type of beverage, due to its different chemical composition, requires a specific storage approach to maintain its taste, quality, and safety in the best possible condition. Following these additional tips will ensure that all your efforts lead to a desirable and pleasant outcome. In this section, we’ll separately review the best methods for three popular homemade drinks: water, cordial, and doogh.
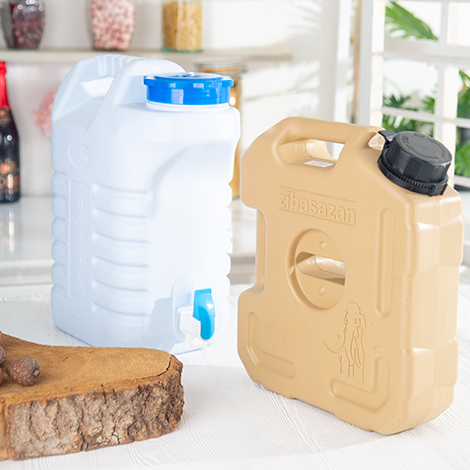
Storing Drinking Water
- Filling: Fill the container as much as possible, leaving only about 2 to 3 cm of empty space at the top. This minimizes trapped oxygen and prevents the water from getting a stale taste.
- Storage: As mentioned before, the best place for long-term water storage is a cool, dark, and dry place. A basement, pantry, or inside a cabinet away from light and heat is ideal.
Storing Homemade Cordials (like Sekanjabin, Sour Cherry Syrup)
- Cordial preparation: Ensure your cordial has reached the right consistency. High sugar concentration in syrup is a natural preservative and prevents microbial growth.
- Filling: After the cordial is ready, let it cool completely to room temperature. Pouring hot cordial into a plastic container can cause chemicals to leach out and the container to deform. Fill the container but leave a little empty space for possible expansion.
- Storage: Cordials must be stored in the refrigerator. Low temperatures significantly slow down the activity of yeasts and molds that are attracted to sugary environments.
Storing Homemade Doogh and Kefir
- Filling: Doogh is a “living” drink, and its fermentation process continues slowly even in the refrigerator, producing gas. Therefore, when filling the container, be sure to leave about one-fifth of the top space empty so that gas pressure doesn’t cause the container to crack or leak.
- Lid: Use containers with a very tight yet slightly flexible lid. During storage, once or twice a day, gently loosen the lid to release the excess gas (a process known as burping), and then securely close it again.
- Storage: Doogh must be stored in the refrigerator without exception. Heat causes it to sour quickly, separate, and spoil completely.

Final Recommendations for Maintaining the Health and Hygiene of Homemade Liquids
In conclusion, preparing and storing healthy and refreshing homemade drinks is an art mixed with science and care. You’ve learned that the foundation of this art is the important process of sanitary container preparation, which begins with the smart choice of a high-quality container and continues with meticulous washing and disinfection.
We at Zibasazan, with a history tied to the creation of the Zibasazan brand in 2017, have always strived to offer products that are more than just a simple utensil by innovating in design and committing to quality. Our products are your partners in creating a healthier and more enjoyable lifestyle. Zibasazan brand containers, with their food-grade standards, practical designs, and high durability, give you the confidence that you’ve taken the first step correctly and with strength.
Always remember that your health is your most valuable asset, and paying attention to small details like container hygiene is a great investment in preserving it. By following the tips in this guide, you not only guarantee the taste and quality of your homemade drinks but also demonstrate the love and care you have for your family’s health. Trust Zibasazan and enjoy your culinary art with peace of mind.